Elevate Your Art: Tips for Framing Your Limited Edition Prints
Congratulations on your new Limited Edition print! Each piece you collect deserves to be showcased in a way that truly captures its beauty and presence. Framing not only protects your artwork, it can help preserve it for generations to come. If you’ve recently purchased one of my prints and are wondering how to frame it to perfection, this article is here to guide you through the process. Let’s explore some suggestions that will help your chosen artwork light up your space!
1. Setting the Scene: Where Will Your Print Reside?
Before looking into framing, consider the placement of your print.
Will it be in a high traffic area where there is the potential for it to be brushed, knocked, leaned on, splashed, misted or damaged? If so you will likely want to have glass or acrylic covering your print.
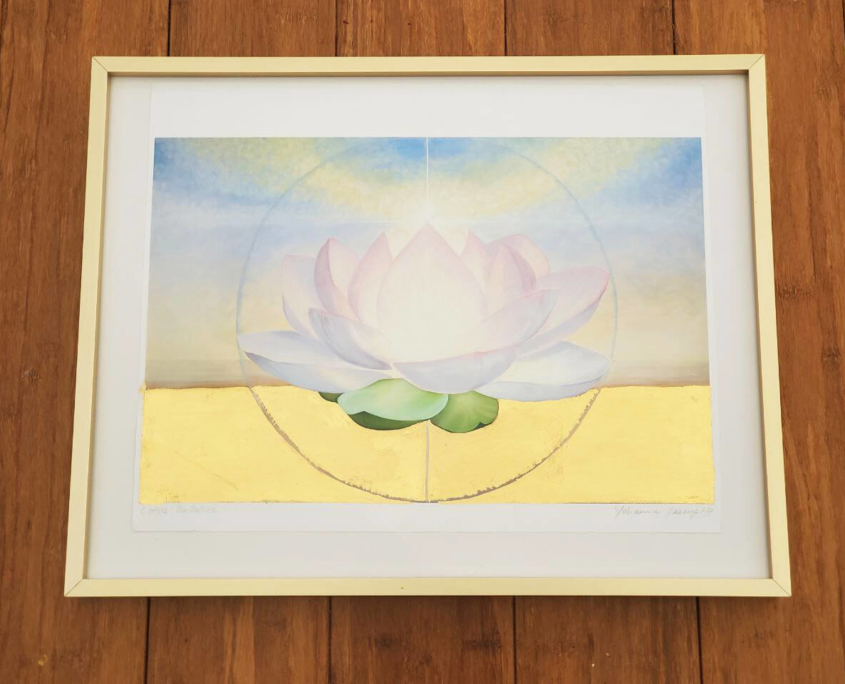
If your print will be in a place that is a low traffic area, a quiet nook, meditation room, or out of the way then you can consider framing options where the print is not behind glass.
Note that your print should never be hung in direct sunlight. Also be conscious about dust, ash, smoke as prolonged exposure to any of these can damage the print.
2. Embrace the Unboxing Moment:
When your print arrives in a tube, give it a few days to relax. To flatten the paper, gently lay it on a clean surface and place books on the corners. This will ensure your print looks its best when framed.
3. Exploring possibilities at the frame shop:
Once the print is flat consider taking it to a framing shop to look at different combinations of mat and frame in different colors and textures.
Mat or matboard is a heavy paper based material used in the framing process. Matboard helps to hold the print in place while creating a bit of distance from the glass or acrylic of the frame. There are 3 kinds of matboard, acid-free, Archival, and museum quality. If you want to go down the matboard rabbit hole here is a very good article by the matboardcenter.com.
For our purposes another aspect of the matboard is color. Matboard or combining layers of matboard of different colors in combination with your frame can enhance the overall look and feel of your print. There can be a fine balance with complimenting or enhancing your print and detracting attention away from it. So play with combinations until you find something that makes the print sing! When in doubt a simple white mat will show off your print well.
Frame selection is an art in itself. Visit a framing shop to experiment with various frame colors, textures, and sizes. Choose a frame that complements your print’s character, adding to its allure rather than overpowering it.
If you find the perfect fit at the framing shop, then you may want to leave the print there and have it professionally framed. Once you know the ideal combination of frame and mat for your print, you may want to consider the following options:
4. DIY Online Framing:
For a hands-on approach, consider online framers like American Frame. You can experiment with different combinations of frame, mat, and acrylic before ordering. It’s a cost-effective option for those who enjoy assembling their frames.
5. Innovative Press Frames:
Press frames offer a sleek look by holding your print between two sheets of acrylic or glass. They can be wall-mounted or floated.
A couple of years ago when displaying one of my large scale drawings in a gallery I considered creating a DIY floating press frame. TAP Plastics will cut and drill holes in acrylic, and also has hardware to float a press frame off the wall. If you’re feeling adventurous and want to frame a large print here is a DIY tutorial by Elsie Larson on making this kind of frame yourself.
6. Minimalist Hanger Frames:
I have recently discovered the joy of the hanger frame!
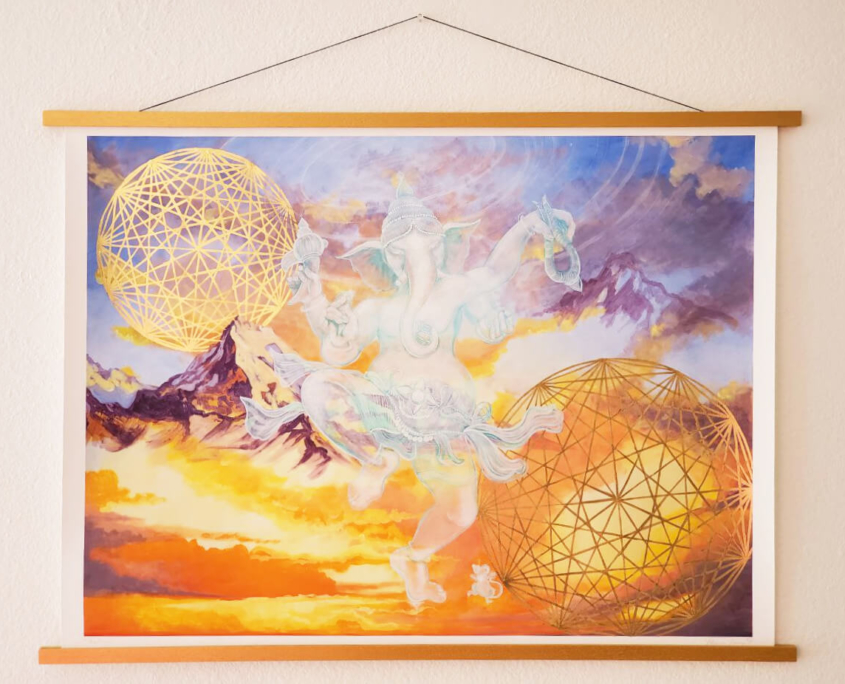
In this kind of framing there is no covering over of the face of your print, so you want to make sure it’s hanging in a protected space. A hanger frame pinches the top and bottom of your print between two wood dowels that are held together by magnets. The print is pulled taught between them. I purchased this frame from Amazon and have it with the print Sky Dance hanging in my room.
7. Unique Magnets:
A few years ago when showing my large scale drawings I used magnets as a mounting method.
It’s a fantastic way to experience the unobstructed beauty of your art. Make sure to hang it in a protected area to maintain its integrity.
The Art Gallery of Ontario has has great tips if you choose this method for displaying your print.
8. For the Duration – Conservation Framing:
I take a lot of care to ensure that any paintings and prints you purchase are made with highest quality materials that will last for generations. If longevity is a concern for you then consider this article about conservation framing.
9. To Glass or Not to Glass?
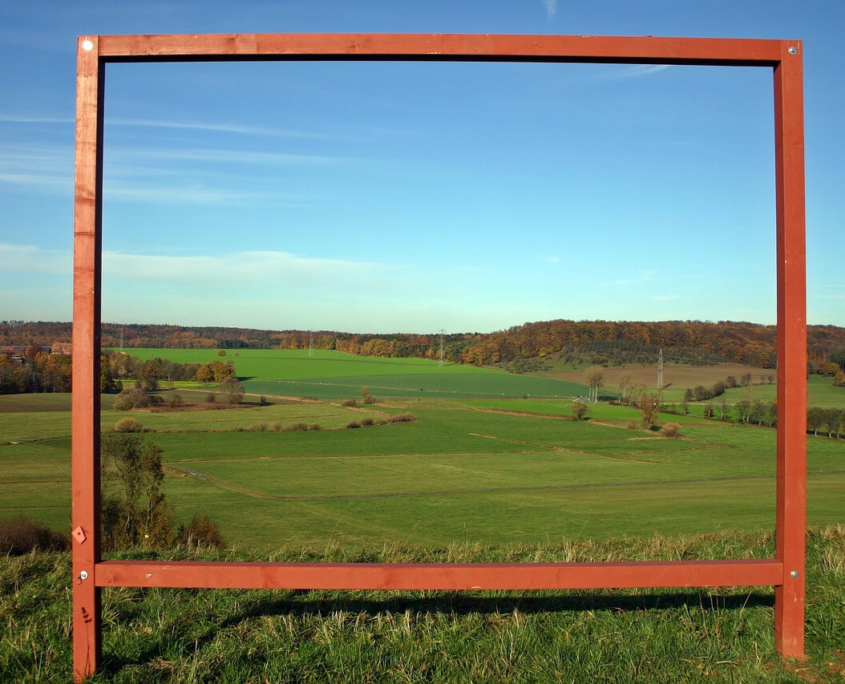
Some clients prefer the openness of a frame without glass, allowing for a deeper connection with the artwork’s space. Choose whether to use glass based on the experience you wish to create.
10. Share Your Wisdom:
As you embark on this framing journey, remember that your creativity knows no bounds. If you discover unique ways to showcase your print or have favorite framers and online sources, don’t hesitate to share them with me, plus a photo of your print via text or email, and I’ll add them to the resource list below. Your insights can inspire others on their framing adventures.
I hope that these suggestions and resources are helpful to you as you display your new print for years to come!



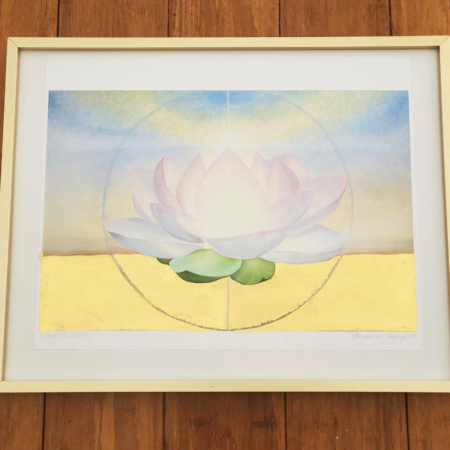
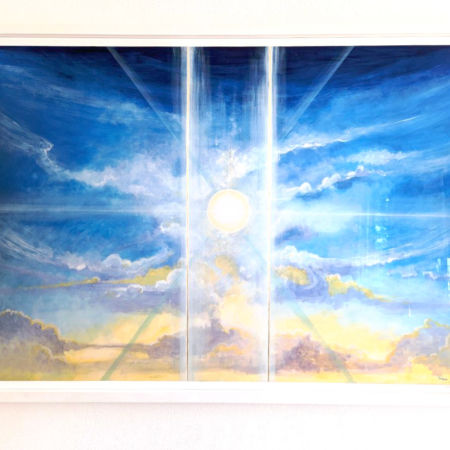


 YohannaJessup2023
 Yohanna Jessup 2023