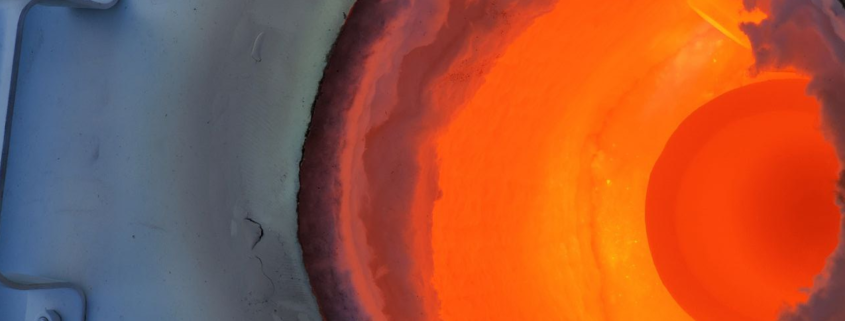
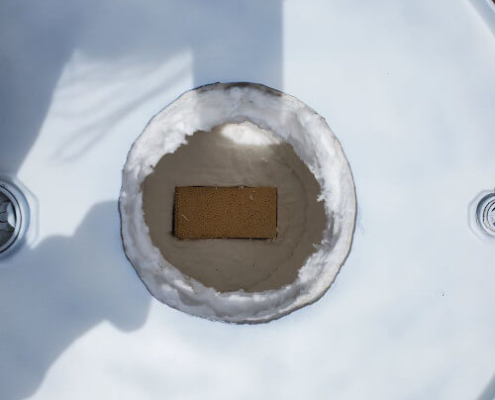
A view into the furnace while tempering a crucible
Creative Fire – Embracing the Art of Sand Casting Bronze
In the winter of 2022, I embarked on creative adventures in Australia. Two of the projects involved learning to sand cast bronze. Armed with inspiration, determination, YouTube, and some very generous and helpful friends I assembled a basic foundry.
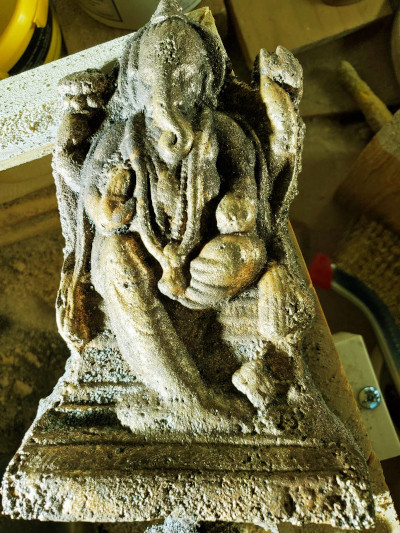
Unfortunately two weeks before finalizing the projects I had an accident while woodworking that left my left hand injured. Despite this setback, I found healing and encouragement in the support of my friends. Together, we managed to carry out three pours, and to our delight, one of them resulted in the first casting – this little Ganesha.
The inspiration to work with bronze arose from a profound desire to create enduring pieces. Initially, the design team I collaborated with contemplated using stone carvings for our projects. But when the idea struck to create these objects out of bronze, we instantly knew it was a perfect fit!
Symbolically, the process of using fire to melt solid metal and mold it through casting felt alchemical and mysterious. It presented a unique opportunity to explore how design and craftsmanship can intersect with the realm of consciousness. An opportunity to forge a relationship to connections and states of consciousness that resonate with the archetypal forces behind metal and the metal working process.
After Returning to the US and regaining some user and mobility in my left hand, I recently began to set up a foundry at home and am now experimenting further with sand casting bronze. Below are the elements of the foundry I’ve set up in northern CA, as well as some images of the first casting. Hope you enjoy!
Elements of the foundry
1. The Furnace: A Core Structure
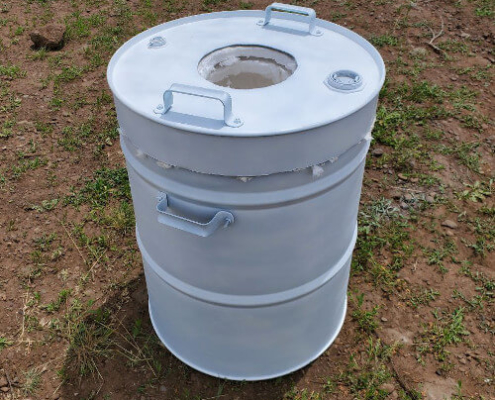
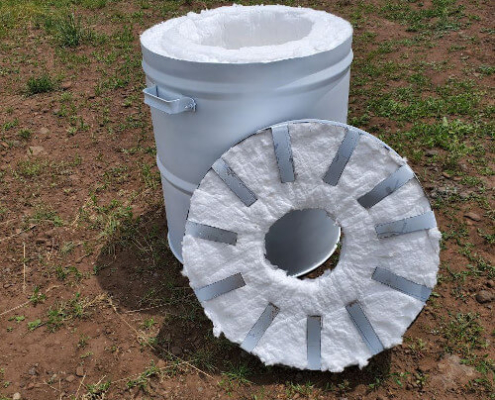
At the heart of my foundry lies the furnace. It’s body is a 50-gallon drum, repurposed by simply removing the top and using it as a lid. To ensure optimal insulation and prevent excessive external heat, I lined the interior with a couple of inches of ceramic refractory blanket. This technique not only retains heat efficiently but also keeps the furnace safe to handle. The choice to not use refractory cement on the interior walls and lid of the furnace creates a furnace with low mass. This means that the furnace can heat up quickly and I can have molten bronze in 47 mins.
In the bottom of the furnace, I placed two high temperature fire bricks that I put at the bottom to rest the crucible on. About 5 inches from the base of the barrel I cut a hole for the burner.
This furnace design was recommended to me by artist Jack Langford, of Langford Sculpture Studio in Ashland Oregon.
2. The Burner: Igniting the Flame
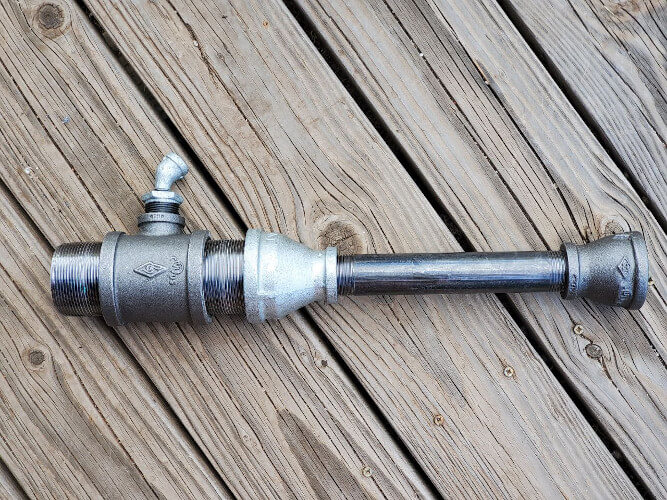
Crafting the burner was another learning opportunity. Following a helpful YouTube video by nickwoo2, I fashioned the burner using iron pipe parts. It fits through a hole cut in the furnace’s base. The flared tip of the burner fosters the ideal environment for the convergence of air and propane gas, resulting in a brilliant flame—an essential factor in achieving the high temperature required to melt bronze (approximately 2100 degrees Fahrenheit or 1400 degrees Celsius). When the air to gas mix is correct the flame turns a beautiful emerald blue green!
3. Forced Air: Amplifying the Heat
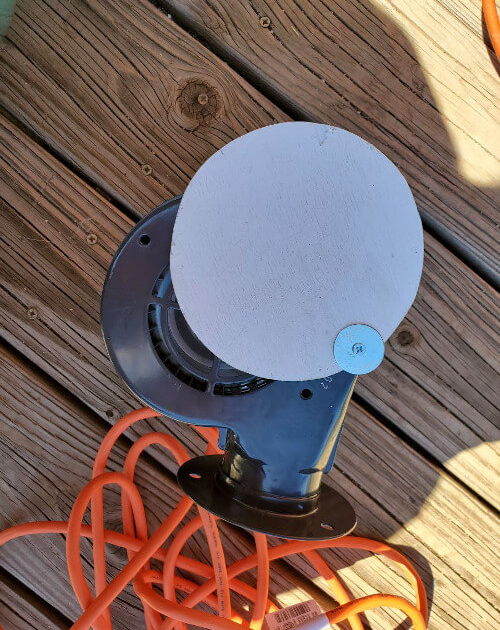
To enhance the efficiency of the furnace, I incorporated Dayton blower recommended by Christ Centered Ironworks on YouTube. This powerful blower assists in forcing air through the furnace, ensuring the ideal air-to-gas ratio. This balance is crucial for attaining a high enough temperature necessary to transform solid bronze into molten metal.
4. The Crucible: Cauldron of transformation
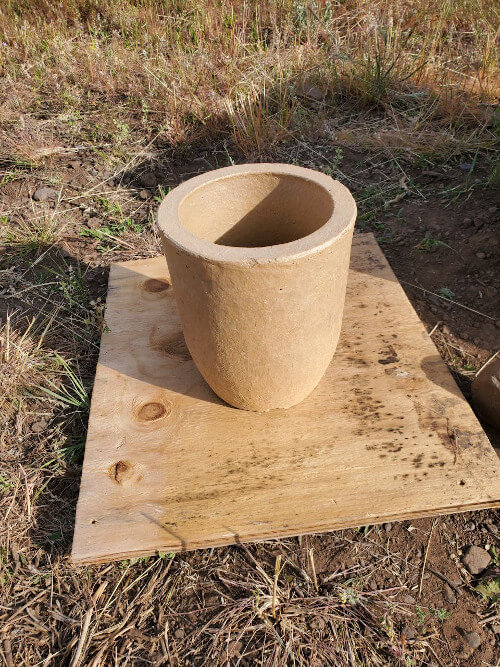
The crucible is the container that holds the metal in the furnace. The crucible has to be made of materials that have a higher melting temperature than the metal inside it.
I’m using clay-graphite crucibles to melt the bronze. As crucibles heat up they become a beautiful cherry-red color! When heated crucibles can become fragile and need to be handled like glass. Artist Jack Langford helped me navigate the ins and outs of choosing crucibles and how to design my furnace around the crucible.
5. Lifting Tongs & Pouring Shank: Tools for the Art of Pouring
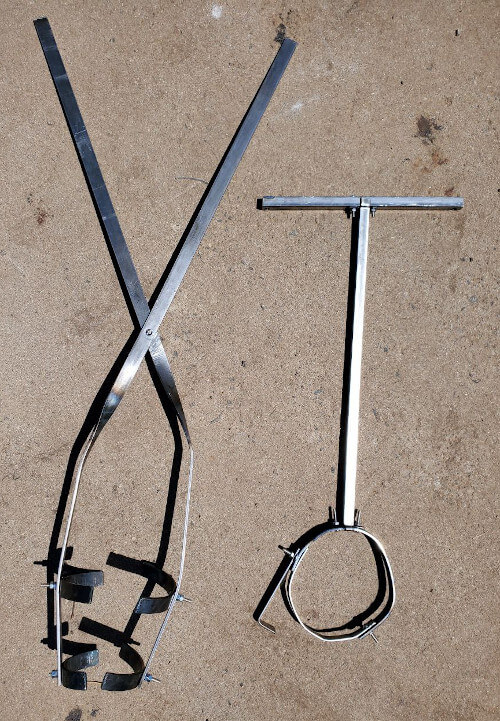
To handle the hot crucible filled with molten metal, I made lifting tongs out of one inch flatbar steel that is 1/4 inch thick. I used some designs I thought would work after studying several YouTube videos. I’ve listed a couple of these videos in the resources below. These tongs enable me to lift the crucible safely and transfer it to the pouring shank—a sturdy tool that carries the crucible to the flasks for the pour. While I have refrained from welding these designs for now, I may explore that avenue in the future.
6. Flasks: Containing the Mold
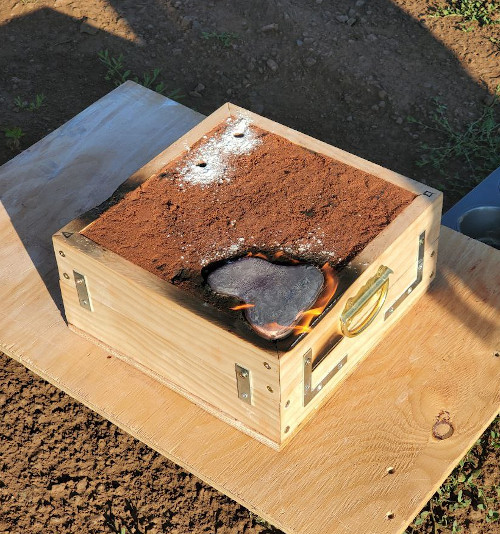
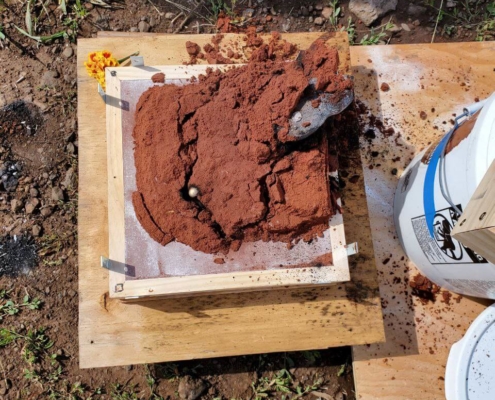
Flasks play a pivotal role in the sand casting process as they cradle both the sand and the vacancy created by the pattern, ultimately shaping the mold. The top portion is known as the cope, while the bottom is called the drag. To achieve precise alignment, I have played with various methods, including utilizing the modesty block model and incorporating steel plates to prevent any undesired shifting. Countless YouTube resources provide a wealth of innovative ideas on creating flasks, each with its own unique twist. I’ve put a couple I found useful in the resources list below.
7. Sand: Making an impression
Sand is the medium that you pack around whatever pattern you want to cast in the sand casting process. I’ve been experimenting with two different kinds of casting sand: Petrobond, and Green sand.
Petrobond is a very fine clay sand that is mixed with oil. When compressed around an object it holds it’s shape.
Green sand is typically a fine masonry sand, bentonite clay and water. When milled together the clay powder coats the particles of sand. It’s able to retain the shape of the pattern by adding small amounts of water. While sand casting in Australia last year Bruce from Green Sand Foundry was very helpful in getting me started working with green sand.
8. Pattern Making: A World of Creativity
The pattern is the positive of the objective you’re casting. It is put into the flask with sand packed around it to create the mold. Then the pattern is removed and gates and channels and sprues and vents are cut into the sand for the pour.
There are a lot of considerations to pattern making to create a good pattern for sand casting. This video by Keith Rucker from VintageMachinery.org runs through many of the technical aspects.
A lot of different materials can be used for pattern making – the material simply has to be strong enough to withstand the sand being packed around your pattern: wood, hard plastics, etc…
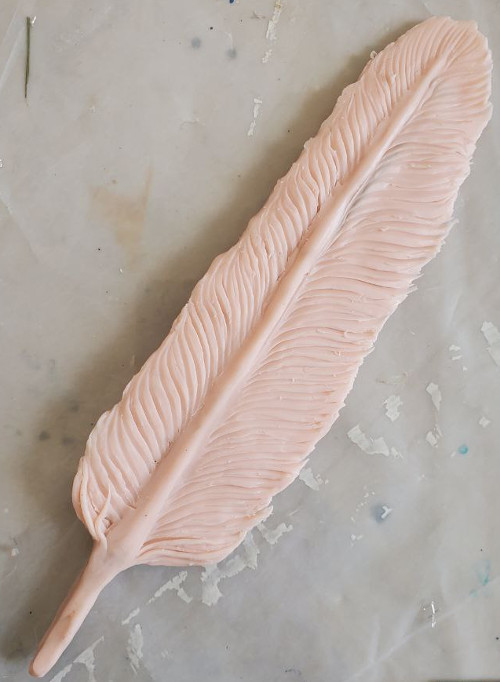
Currently I’m experimenting with super sculpley polymer clay to make some patterns for sand casting.
A Glimpse of the First Casting
I wanted to share with you an image of the very first casting in the new foundry – It is the same Ganesha pattern that we cast in Australia last year! This piece serves as a testament to overcoming limits, and the boundless creative possibilities that lie ahead.





 Yohanna Jessup
 Yohanna Jessup